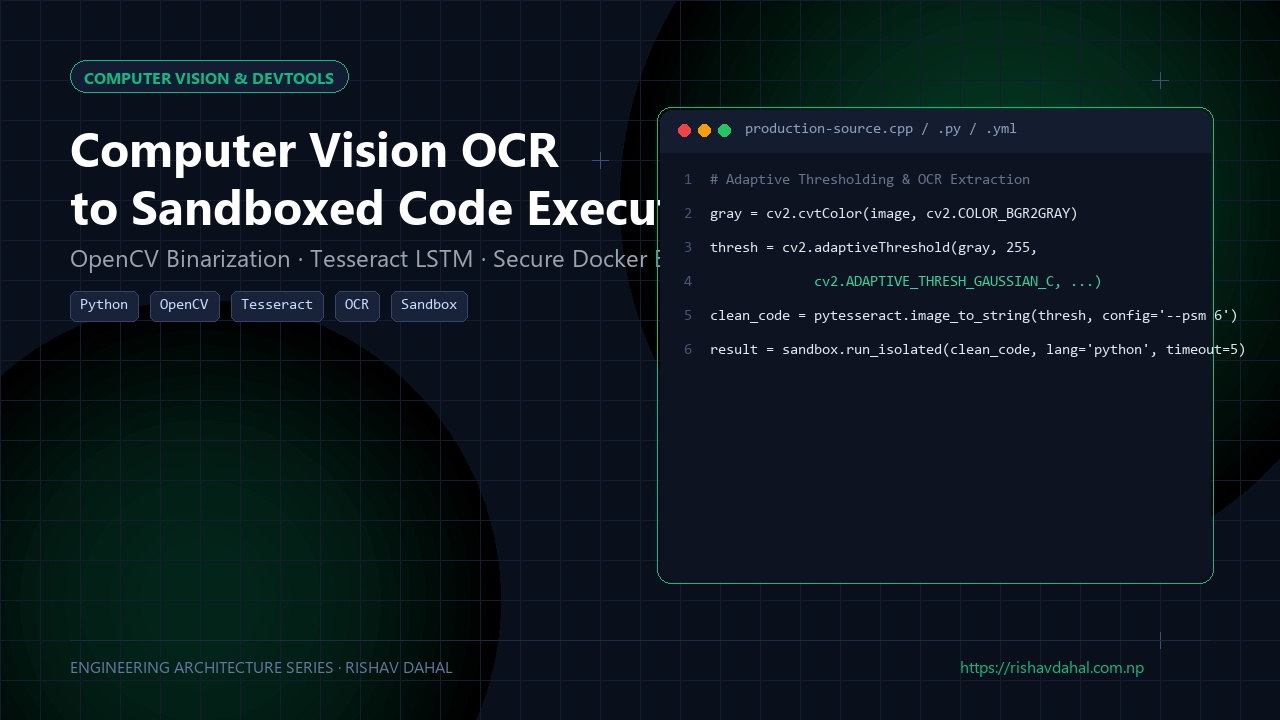
📦 Open Source Repository: The complete codebase, architecture schemas, and implementation files for this system are available on GitHub at rishav-dahal/OCRcompiler2.0.
During my engineering semesters, our professors would regularly hand out printed lab manuals, past exam papers, and textbook chapters with dozens of lines of C++ or Python code.
Retyping 60 lines of code by hand was mind-numbing: one misplaced semicolon or confusing an uppercase O with a 0, and you’d waste 20 minutes debugging compiler errors that weren’t even your fault.
Naturally, I thought: “Why not just snap a photo on my phone and run it through Tesseract OCR?”
If you’ve ever tried that, you know what happens:
- Perspective Skew: Phone cameras are never perfectly perpendicular. The top of the page is narrow, the bottom is wide, and text lines bend.
- Book Spine Shadows: The curved crease near the center of a textbook casts a dark shadow gradient that turns global binarization into black smudges.
- English Dictionary Bias: Tesseract is tuned for conversational English. It happily autocorrects
int main()into"into main", turnscout <<into"count «", and confusesl,1, and|. - The RCE Security Hazard: If you build a web app where users upload photos of code to compile, an image containing
import os; os.system("rm -rf /")will destroy your host server if executed naively!
Here is the exact computer vision pipeline and Docker sandbox architecture I built in OCRcompiler 2.0 to solve these problems.
1. Step 1: 4-Point Perspective Warp (Deskewing the Page)
Before running OCR, we must find the rectangular document boundary in 3D space and flatten it into a top-down orthogonal view.
Skewed Phone Photo:                     Orthogonal Rectified Image:
      ┌───────────┐                         ┌─────────────────────────┐
     /             \   cv2.warpPerspective  │ #include <iostream>     │
    /   int main()  \  ───────────────────► │ int main() {            │
   /                 \                      │     std::cout << "OK";  │
  └───────────────────┘                     └─────────────────────────┘
Here is the mathematical corner sorting and warping function:
# vision/warper.py
import cv2
import numpy as np

def order_points(pts):
    """
    Sorts 4 quadrilateral coordinates in clockwise order:
    [top-left, top-right, bottom-right, bottom-left]
    """
    rect = np.zeros((4, 2), dtype="float32")
    s = pts.sum(axis=1)
    rect[0] = pts[np.argmin(s)] # Top-left has smallest sum (x + y)
    rect[2] = pts[np.argmax(s)] # Bottom-right has largest sum (x + y)

    diff = np.diff(pts, axis=1)
    rect[1] = pts[np.argmin(diff)] # Top-right has smallest difference (y - x)
    rect[3] = pts[np.argmax(diff)] # Bottom-left has largest difference (y - x)
    return rect

def four_point_transform(image, pts):
    rect = order_points(pts)
    (tl, tr, br, bl) = rect

    # Compute width of new image
    widthA = np.linalg.norm(br - bl)
    widthB = np.linalg.norm(tr - tl)
    maxWidth = max(int(widthA), int(widthB))

    # Compute height of new image
    heightA = np.linalg.norm(tr - br)
    heightB = np.linalg.norm(tl - bl)
    maxHeight = max(int(heightA), int(heightB))

    dst = np.array([
        [0, 0],
        [maxWidth - 1, 0],
        [maxWidth - 1, maxHeight - 1],
        [0, maxHeight - 1]
    ], dtype="float32")

    M = cv2.getPerspectiveTransform(rect, dst)
    warped = cv2.warpPerspective(image, M, (maxWidth, maxHeight))
    return warped
2. Step 2: Destroying Book Shadows with Adaptive Binarization
A standard cv2.threshold with a fixed threshold (e.g. 127) fails completely when sunlight or textbook curvature creates a dark gradient.
Instead, we use Adaptive Gaussian Thresholding with contrast enhancement:
# vision/preprocess.py
def clean_for_ocr(warped_img):
    gray = cv2.cvtColor(warped_img, cv2.COLOR_BGR2GRAY)

    # 1. Bilateral filter removes paper texture while preserving sharp character edges
    filtered = cv2.bilateralFilter(gray, d=9, sigmaColor=75, sigmaSpace=75)

    # 2. Adaptive Gaussian threshold evaluates local 21x21 pixel neighborhoods
    binary = cv2.adaptiveThreshold(
        filtered,
        255,
        cv2.ADAPTIVE_THRESH_GAUSSIAN_C,
        cv2.THRESH_BINARY,
        blockSize=21,
        C=10
    )

    # 3. Morphological closing fills microscopic pixel holes inside font stems
    kernel = cv2.getStructuringElement(cv2.MORPH_RECT, (2, 2))
    cleaned = cv2.morphologyEx(binary, cv2.MORPH_CLOSE, kernel)

    return cleaned
3. Step 3: Tesseract Configuration & Syntax Heuristics
By default, Tesseract assumes plain paragraph text. For source code, we configure Page Segmentation Mode 6 (PSM 6) (single uniform block of text) and disable dictionary language models:
import pytesseract
import re

def extract_code(cleaned_img):
    # Disable English dictionary word frequency biases
    custom_config = r'--oem 3 --psm 6 -c preserve_interword_spaces=1'
    raw_text = pytesseract.image_to_string(cleaned_img, config=custom_config)

    # Syntax Heuristic Post-Processing:
    # Common OCR mistakes in programming syntax:
    corrections = [
        (r'\binto\s+main\b', 'int main'),
        (r'\bcout\s*«', 'cout <<'),
        (r'\bcin\s*»', 'cin >>'),
        (r'(?<=\w)\s*:\s*$', ';'), # Trailing colon instead of semicolon
        (r'([a-zA-Z0-9_]+)\s*\(\s*\)\s*\{', r'\1() {'),
    ]

    clean_text = raw_text
    for pattern, replacement in corrections:
        clean_text = re.sub(pattern, replacement, clean_text)

    return clean_text
4. Step 4: Secure Sandboxed Execution with Docker
Never, under any circumstances, execute OCR-extracted code with exec(), eval(), or subprocess.run(["python", ...]) directly on your host machine!
A malicious user could upload an image of code that deletes files, mines crypto, or steals environment variables.
We execute all code inside an ephemeral, locked-down Docker container:
# sandbox/runner.py
import docker
import tempfile
import os

client = docker.from_env()

def execute_in_sandbox(code_str: str, language="python", timeout_seconds=5):
    with tempfile.TemporaryDirectory() as temp_dir:
        file_name = "main.py" if language == "python" else "main.cpp"
        source_path = os.path.join(temp_dir, file_name)

        with open(source_path, "w", encoding="utf-8") as f:
            f.write(code_str)

        try:
            # Ephemeral container with strict security constraints:
            # 1. network_disabled=True (Zero outbound internet access)
            # 2. mem_limit='128m' (Prevents RAM exhaustion bombs)
            # 3. pids_limit=32 (Prevents fork bombs)
            # 4. read_only=True with isolated /tmp
            container = client.containers.run(
                image="python:3.11-alpine",
                command=f"python /sandbox/{file_name}",
                volumes={temp_dir: {"bind": "/sandbox", "mode": "ro"}},
                network_disabled=True,
                mem_limit="128m",
                pids_limit=32,
                user="1000:1000",
                detach=False,
                stdout=True,
                stderr=True,
                remove=True
            )
            return {"success": True, "output": container.decode("utf-8")}
        except docker.errors.ContainerError as e:
            return {"success": False, "error": e.stderr.decode("utf-8")}
        except Exception as e:
            return {"success": False, "error": f"Execution timed out or failed: {str(e)}"}
Summary
Building an OCR code compiler requires bridging the physical imperfections of printed paper with the uncompromising, strict syntax of programming language parsers:
- Use 4-point perspective transforms to flatten angled mobile snapshots.
- Use adaptive Gaussian thresholding to eliminate harsh shadows from curved book spines.
- Tune Tesseract PSM 6 with custom regex heuristics to preserve code syntax tokens.
- Isolate all executions inside ephemeral, resource-constrained, network-disabled Docker containers to guarantee server security.
🛠️ GitHub Repository & Next Steps
The complete open-source source code and architecture discussed in this guide are publicly available:
- Project Repository: OCRcompiler 2.0 - Computer Vision & Code Sandbox on GitHub
- Developer Profile: @rishav-dahal
If you’re building a similar system or encounter edge cases in your deployment, feel free to star the repo, file an issue, or submit an optimization pull request!