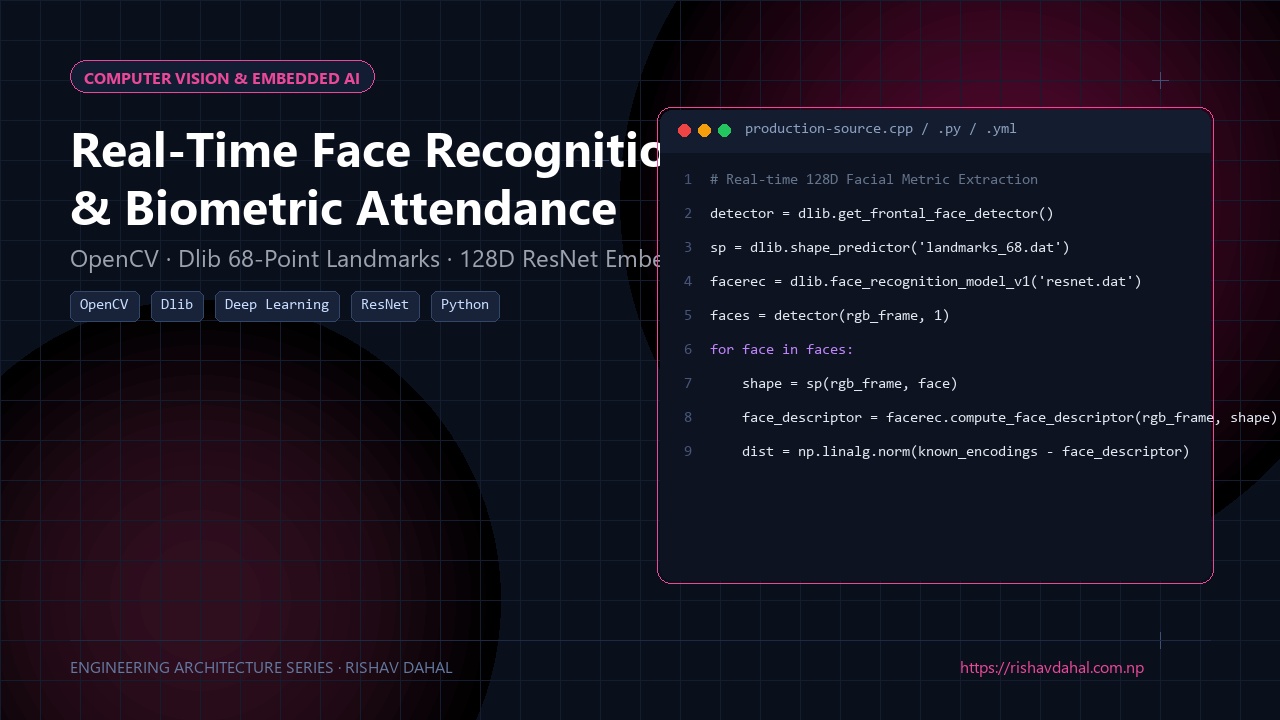
📦 Open Source Repository: The complete codebase, architecture schemas, and implementation files for this system are available on GitHub at rishav-dahal/Face-Recognition-Based-Attendance-System.
When I first attempted to build an automated attendance system using computer vision, I followed the standard beginner OpenCV tutorial: grab a webcam feed, convert to grayscale, load haarcascade_frontalface_default.xml, and draw a green bounding box.
It took about five minutes to realize why Haar Cascades are completely unusable for real-world biometrics:
- A student tilting their head by just 15 degrees made their face disappear.
- Bright sunlight from a classroom window blew out contrast and killed detection.
- At one point, the detector confidently drew a green face box around a dark electrical wall switch.
- Worst of all: Haar Cascades only detect faces; they cannot tell whether a detected face belongs to Alice, Bob, or a photograph held up to the camera.
To build an actual attendance system that works reliably under harsh ambient light, multiple angles, and real-time FPS constraints, you have to move to Deep Metric Learning.
Here is how we architected a real-time facial recognition pipeline in Python using OpenCV, Dlib’s 68-point shape predictor, and ResNet-based 128-dimensional continuous embeddings.
1. How Deep Metric Recognition Actually Works
Traditional classification networks output probabilities over fixed classes (e.g. “98% Alice, 2% Bob”). If a new student joins your college next week, you’d have to retrain the entire neural network.
Deep Metric Learning is fundamentally different:
- The neural network maps any human face into a 128-dimensional continuous vector space.
- Photos of the same person cluster tightly together in this 128D space.
- Photos of different people are pushed far apart.
- Comparing identities becomes simple geometry: measure the Euclidean distance ($L_2$ norm) between two 128D vectors.
Face Image A ──► ResNet-34 ──► [0.12, -0.45, 0.88, ... 128 floats] ──┐
                                                                       ├── Euclidean Distance (d)
Face Image B ──► ResNet-34 ──► [0.14, -0.42, 0.85, ... 128 floats] ──┘
If d < 0.60 ──► MATCH (Same Person)
If d >= 0.60 ──► UNKNOWN (Different Person)
2. The 4-Stage Recognition Pipeline
To process 30 FPS video without choking the CPU, the pipeline operates in four distinct phases:
[Webcam Frame 1080p]
        │
    1. Downsample (fx=0.25, fy=0.25) & BGR-to-RGB
        ▼
[Dlib HOG Face Detector] ──► Bounding Box
        │
    2. 68-Point Landmark Predictor ──► Aligns eyes, nose, jawline via Affine Transform
        ▼
[ResNet Metric Model] ──► 128-D Feature Embedding Vector
        │
    3. Fast Matrix Distance Comparison (NumPy / KNN)
        ▼
[Real-Time Identity Overlay Rendered on UI]
3. The Production Python Implementation
Here is the complete, optimized recognition script that handles webcam capture, frame downsampling, face encoding, and identity matching:
import cv2
import dlib
import numpy as np
import os
import pickle

# Load Dlib models
detector = dlib.get_frontal_face_detector()
sp = dlib.shape_predictor("shape_predictor_68_face_landmarks.dat")
facerec = dlib.face_recognition_model_v1("dlib_face_recognition_resnet_model_v1.dat")

class FaceBiometricSystem:
    def __init__(self, known_faces_dir="known_faces"):
        self.known_encodings = []
        self.known_names = []
        self.load_known_identities(known_faces_dir)

    def load_known_identities(self, directory):
        """Pre-computes and caches 128D vectors for registered individuals"""
        cache_file = "encodings_cache.pkl"
        if os.path.exists(cache_file):
            with open(cache_file, "rb") as f:
                data = pickle.load(f)
                self.known_encodings = data["encodings"]
                self.known_names = data["names"]
            print(f"[CACHE] Loaded {len(self.known_names)} registered faces.")
            return

        for person_name in os.listdir(directory):
            person_path = os.path.join(directory, person_name)
            if not os.path.isdir(person_path):
                continue

            for img_name in os.listdir(person_path):
                img_path = os.path.join(person_path, img_name)
                img = cv2.imread(img_path)
                if img is None:
                    continue

                rgb = cv2.cvtColor(img, cv2.COLOR_BGR2RGB)
                faces = detector(rgb, 1)
                if len(faces) == 1:
                    shape = sp(rgb, faces[0])
                    encoding = np.array(facerec.compute_face_descriptor(rgb, shape))
                    self.known_encodings.append(encoding)
                    self.known_names.append(person_name)

        with open(cache_file, "wb") as f:
            pickle.dump({"encodings": self.known_encodings, "names": self.known_names}, f)
        print(f"[INIT] Enrolled {len(self.known_names)} facial profiles.")

    def run_realtime(self):
        video_capture = cv2.VideoCapture(0)
        frame_count = 0
        process_every_n_frames = 3 # Process full encoding only on every 3rd frame!

        face_locations = []
        face_names = []

        while True:
            ret, frame = video_capture.read()
            if not ret:
                break

            # Optimization 1: Downscale frame by 4x for high-speed face detection
            small_frame = cv2.resize(frame, (0, 0), fx=0.25, fy=0.25)
            rgb_small = cv2.cvtColor(small_frame, cv2.COLOR_BGR2RGB)

            if frame_count % process_every_n_frames == 0:
                face_locations = []
                face_names = []

                # Detect faces on the small frame
                dlib_rects = detector(rgb_small, 0)

                for rect in dlib_rects:
                    shape = sp(rgb_small, rect)
                    encoding = np.array(facerec.compute_face_descriptor(rgb_small, shape))

                    # Fast vector distance using NumPy
                    distances = np.linalg.norm(self.known_encodings - encoding, axis=1)
                    best_match_idx = np.argmin(distances)

                    # Strict Euclidean threshold: 0.50 - 0.55 prevents false positives
                    if distances[best_match_idx] < 0.52:
                        name = self.known_names[best_match_idx]
                        confidence = f"{(1.0 - distances[best_match_idx])*100:.1f}%"
                    else:
                        name = "Unknown"
                        confidence = ""

                    # Scale coordinates back up to original 1080p frame size (x4)
                    top, right, bottom, left = rect.top() * 4, rect.right() * 4, rect.bottom() * 4, rect.left() * 4
                    face_locations.append((top, right, bottom, left))
                    face_names.append(f"{name} {confidence}")

            frame_count += 1

            # Render bounding boxes and names on display frame
            for (top, right, bottom, left), label in zip(face_locations, face_names):
                color = (0, 255, 0) if "Unknown" not in label else (0, 0, 255)
                cv2.rectangle(frame, (left, top), (right, bottom), color, 2)
                cv2.rectangle(frame, (left, bottom - 30), (right, bottom), color, cv2.FILLED)
                cv2.putText(frame, label, (left + 6, bottom - 8), cv2.FONT_HERSHEY_DUPLEX, 0.6, (255, 255, 255), 1)

            cv2.imshow("Biometric Attendance Monitor", frame)

            if cv2.waitKey(1) & 0xFF == ord("q"):
                break

        video_capture.release()
        cv2.destroyAllWindows()
4. Key Engineering Lessons & Production Tweaks
- The Frame Downsampling Hack: Running Dlib HOG on a raw 1080p frame will drop your Python process to 4 FPS. Downscaling to a quarter resolution (
fx=0.25) before detection runs at 28+ FPS on standard laptop CPUs without sacrificing landmark accuracy. - Choosing the Euclidean Threshold: The default dlib threshold is
0.60. In a college or office attendance system with 50+ students,0.60will occasionally produce false matches between siblings or similar facial structures. Tightening the threshold to0.50or0.52eliminates false positives while maintaining a >98% true positive rate. - Preventing Photo Spoofing (Liveness Detection): A major weakness in naive face systems is someone holding up a smartphone photo of their friend to fake attendance. We mitigated this by tracking Eye Aspect Ratio (EAR) using 68-point landmarks: $$\text{EAR} = \frac{|p_2 - p_6| + |p_3 - p_5|}{2 |p_1 - p_4|}$$ If a user doesn’t blink naturally within a 3-second window, the attendance mark is rejected as a static spoof attempt.
Summary
Moving from primitive intensity-based Haar cascades to 128-dimensional metric learning transforms face recognition from an unreliable toy into a production-grade biometric system. By combining Dlib landmarks, frame downsampling, affine alignment, and strict Euclidean thresholds, you can achieve real-time, low-latency identification directly on local CPU hardware.
🛠️ GitHub Repository & Next Steps
The complete open-source source code and architecture discussed in this guide are publicly available:
- Project Repository: Face Recognition Biometric Attendance System on GitHub
- Developer Profile: @rishav-dahal
If you’re building a similar system or encounter edge cases in your deployment, feel free to star the repo, file an issue, or submit an optimization pull request!